
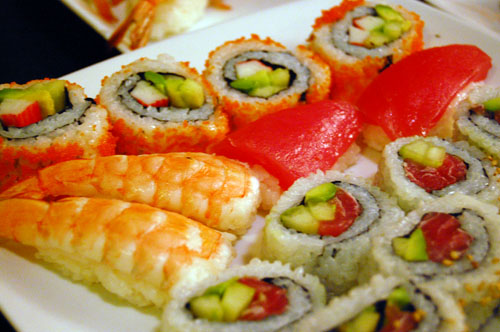
Verdict: it WAS both fun and delicious, and did make more financial sense, but I have to say that it's hard work! Really, many props to sushi chefs, whose creativity and skill I'd never quite appreciated to this level before, now having tried to do what they do.
We decided to keep it simple for this first excursion (though it was amazing how complex even 'simple' stuff is!) and made California rolls and ebi nigiri. While not the perfection you'd get in a real sushi place, we were pretty proud of how our attempts came out! (Plus, no matter what it looks like, it's still delicious, so we had that going for us.)
Equipment:
- rice cooker
- bamboo mat
- skewers
- plastic wrap
- super sharp knife
- 1 bowl of cold water
- 1 bowl of ice water
- large non-metallic bowl
Ingredients:
- imitation crab meat (usually made of fish)
- avocado
- English cucumber
- shrimp (headless)
- tuna sashimi (maguro)
- nori (toasted seaweed)
- short-grain (sushi) rice
- tobiko (little fish eggs)
- sesame seeds
- rice vinegar
- sugar
- Kosher salt
First we made the sushi rice. Washed the rice thoroughly (meaning several changes of water until it ran fairly clear) then let it sit in water for 30 minutes. Used the rice cooker to make 3 cups (uncooked) rice. I worried that there wasn't enough liquid, but followed the rice cooker's instructions and it came out fine (if you make rice on a stove top, use equal amounts of water and rice). After it was done I let it sit and steam in the cooker for about 15 minutes. In the meanwhile, I made the vinegar mixture by heating the rice vinegar, sugar, and salt in the microwave until the latter two were dissolved. Scooped out the rice into a large non-metallic bowl and let it cool for a bit, then poured the vinegar solution over it. Folded the rice together well (our research on sushi rice showed that we weren't to mix/stir the rice, as this would break the grains). Set aside to cool completely.
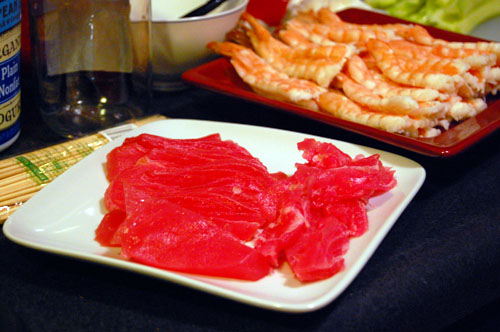
In the meanwhile, we started to prepare the ebi. Set a pot of water to boil. Skewered shrimp onto skewers through the head and body, all the way to the tail, so that they were stretched out fairly straight (this is to keep them from curling when they're cooking). Tossed them into the boiling water for about 5 minutes, then removed them to an ice water bath to stop the cooking process (and conveniently, to be able to handle them without burns). Twisted the shrimp off the skewers. Shelled them up to the tail. Sliced them carefully down the middle of the belly without cutting all the way through. Spread them open and removed/washed away any visible veins. I wish I'd taken photos of this process but you can find helpful videos on YouTube.
Then there was the slicing of the imitation crab, avocado, cucumber, and maguro.
Finally, assembly. We made ebi nigiri, and also used a couple of slices of maguro to make nigiri as well. That was fairly easy.
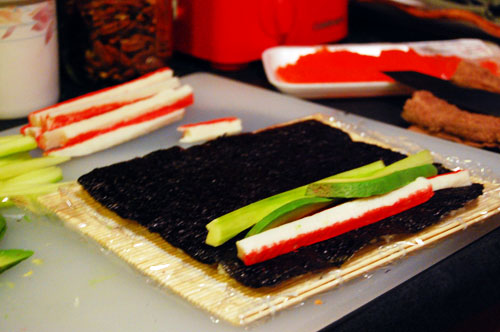
Next came the rolls! Wrapped the bamboo mat in plastic wrap. Put a sheet (or half sheet, depending on how big you want your rolls) of nori on top. Wet hands thoroughly with water -- very important step or you'll have sticky rice all over you -- then took a portion of completely cooled sushi rice and spread it over the nori. I'd have to wet my hands every so often, whenever they dried enough that the rice started sticking to them. Flipped the nori over so that the rice was on the bottom. Layered in the filling (we skipped the Kewpie/Japanese mayo that some places use) -- depending on if you use a half or whole sheet of nori you can put in more or less. Carefully used the bamboo sheet to roll it up. I learned that a very important step here is to, after you've made the first roll-in, make sure it's tucked in really tight, and continue to make sure it's tucked in tight as best as you can while you're rolling it up, because otherwise the roll will be really loose and the filling will fall out easily.


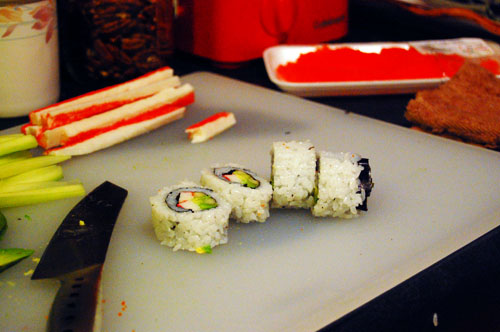
After the roll has been completed, you'll want to take your very sharp knife and dip it in a bowl of cold water. Slice the roll in half, then place the halves side by side. Dip your knife in cold water again and slice familiar-sized pieces. After every slice be sure to dip your knife in water. We learned this was a super important step to making sure that cuts were easy (otherwise the sticky rice will make it very difficult to cut).
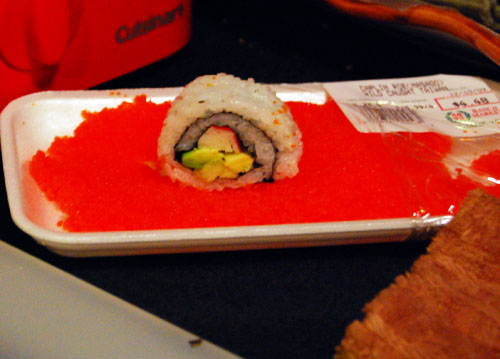
We then rolled each piece in tobiko (or sesame seeds). In theory you could roll the big roll in tobiko, then slice into portions, but some tobiko would inevitably stay on the cutting board and get on consequent rolls in random places, which doesn't look as nice.
Serve with wasabi, soy sauce, and green tea, and enjoy!
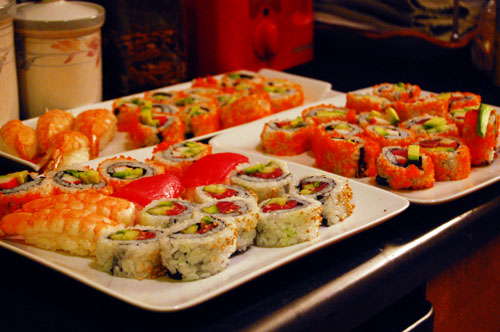
We made a ton of rolls that we couldn't even finish, and have ingredients to make even more. Definitely the way to go if you know someone who's a bottomless pit when it comes to rolls! Next time we'll branch out and try some other kind of filling ingredients ... like shrimp tempura! Yum.